Introducing solid foods to your little one is such an exciting milestone, and this easy roasted butternut squash baby puree is one of the dreamiest, naturally sweet starting foods you can make! With just a single whole butternut squash and a hot oven, you get a velvety, nutrient-dense puree that portions easily into freezer molds for effortless weekday feeding.
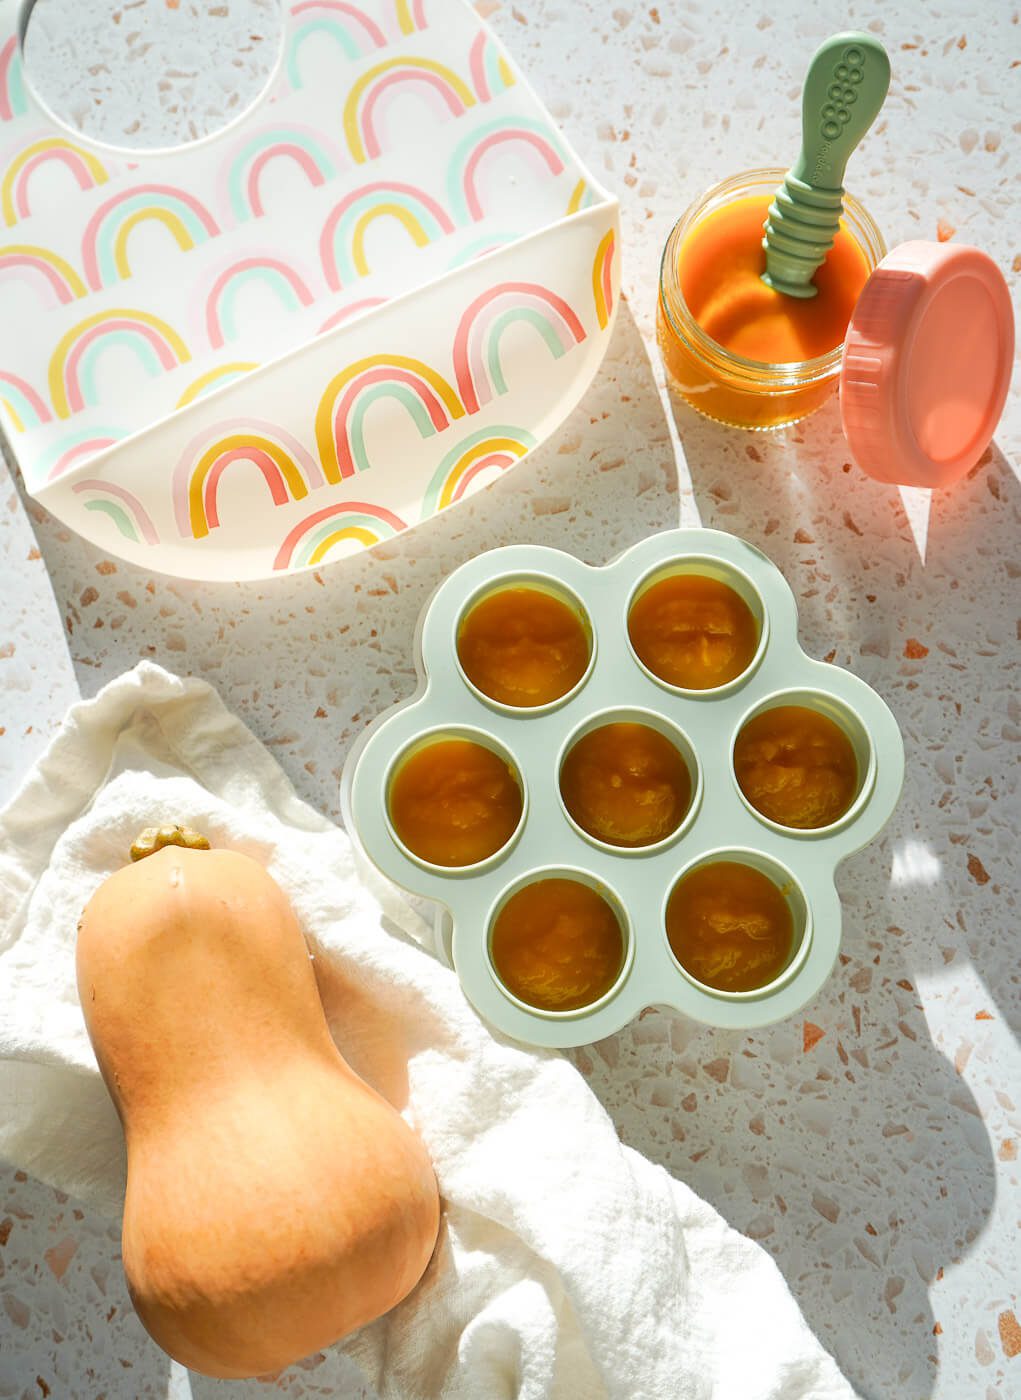
Cozy Comfort for Little Tummies
When Ember was first starting her puree journey, roasted butternut squash was an instant favorite. Roasting the squash cut-side down on a baking sheet caramelizes its natural sugars, creating a rich, smooth flavor that babies adore—no added salt, butter, or sweeteners needed.
Plus, making baby food at home gives you complete control over texture and quality. An immersion blender whip turns this roasted squash into a silky-smooth spoonable puree for Stage 1 feeding, or you can leave it slightly thicker as your little one progresses.
Why I Love This Roasted Butternut Squash Baby Puree Recipe

- 100% Real Food & Budget-Friendly: Pure, wholesome butternut squash that gives you a massive batch of organic baby food for a fraction of store-bought prices.
- Freezer-Friendly Meal Prep: Portion directly into covered silicone freezer molds, freeze, and pop out single servings whenever mealtime rolls around.
- Naturally Sweet & Silky: Roasting enhances the natural vegetable sweetness and creates an ultra-smooth consistency with an immersion blender.
- Ember’s First Favorite: This was one of Ember’s very first purees, making it a truly special staple in our kitchen!
Key Ingredients & Simple Swaps:
Whole Butternut Squash: Pick a medium-to-large butternut squash with a firm, smooth exterior.
Liquid for Thinning (Optional): A splash of warm water, breastmilk, or prepared formula can be blended in if baby prefers a thinner consistency.
How to Make Easy Roasted Butternut Squash Baby Puree
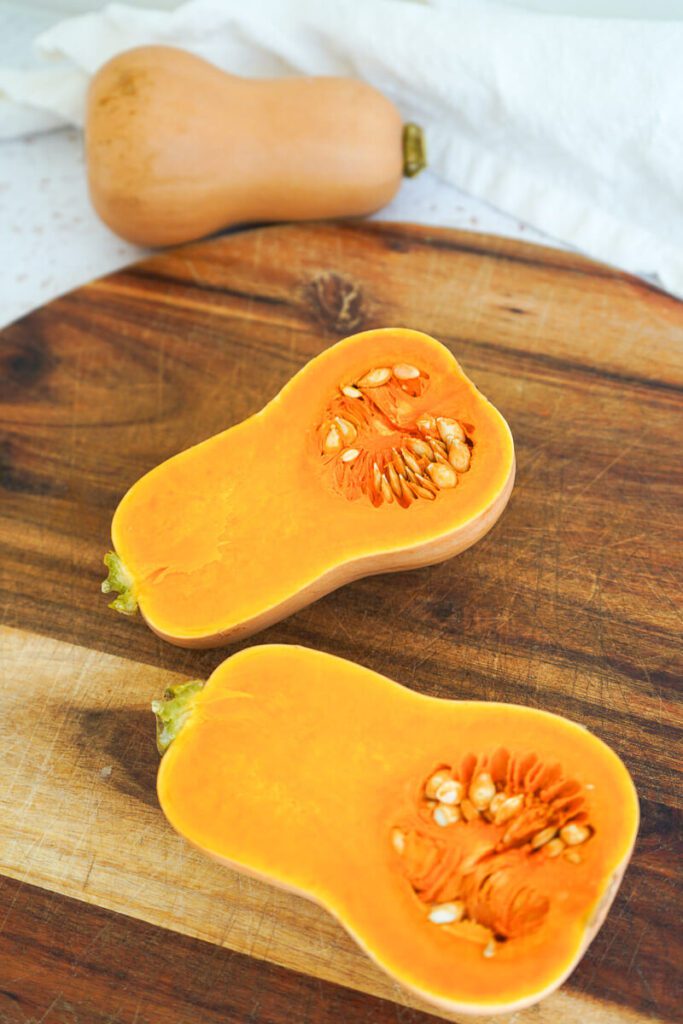

- Prep the Squash: Preheat your oven to 400°F (200°C) and line a rimmed baking sheet with parchment paper. Carefully slice the butternut squash in half lengthwise and scoop out the seeds and stringy center.
- Roast Until Fork-Tender: Place squash halves cut-side down on the prepared baking sheet. Roast for 40 to 50 minutes until the skin is soft and wrinkled, and a fork pierces through the flesh with zero resistance.
- Scoop & Cool: Let the squash cool until safe to touch. Scoop the tender roasted flesh out of the skin straight into a large mixing bowl or blender pitcher.
- Blend to Silky Smooth: Blend using an immersion blender (or high-speed blender) until completely smooth and velvety. Add a tablespoon or two of liquid if a thinner Stage 1 texture is desired.
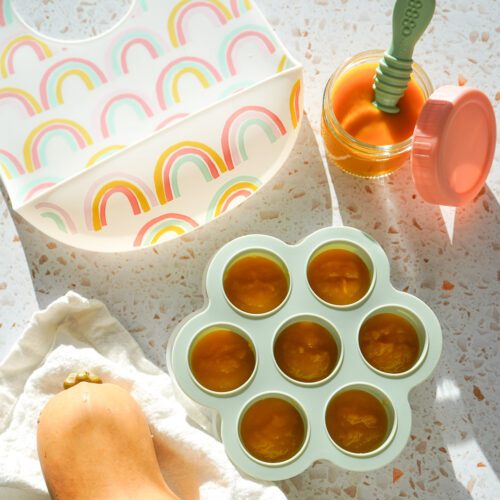
- Portion & Freeze: Spoon puree into covered silicone baby food molds. Freeze until solid, then pop the frozen cubes into a labeled freezer bag for long-term meal prep!
Prep Ahead & Best Ways to Store It:
- Refrigeration: Keep fresh puree in airtight glass jars or containers in the fridge for up to 3–4 days.
- Freezer Storage: Freeze in covered silicone molds. Once frozen solid, transfer cubes to an airtight freezer-safe bag for up to 3 months.
- Thawing & Reheating: Thaw cubes in the fridge overnight, or warm gently in a warm water bath or short microwave bursts. Always stir thoroughly and test the temperature on your wrist before serving baby!
Store-Bought vs. Homemade: Finding Balance as a Parent
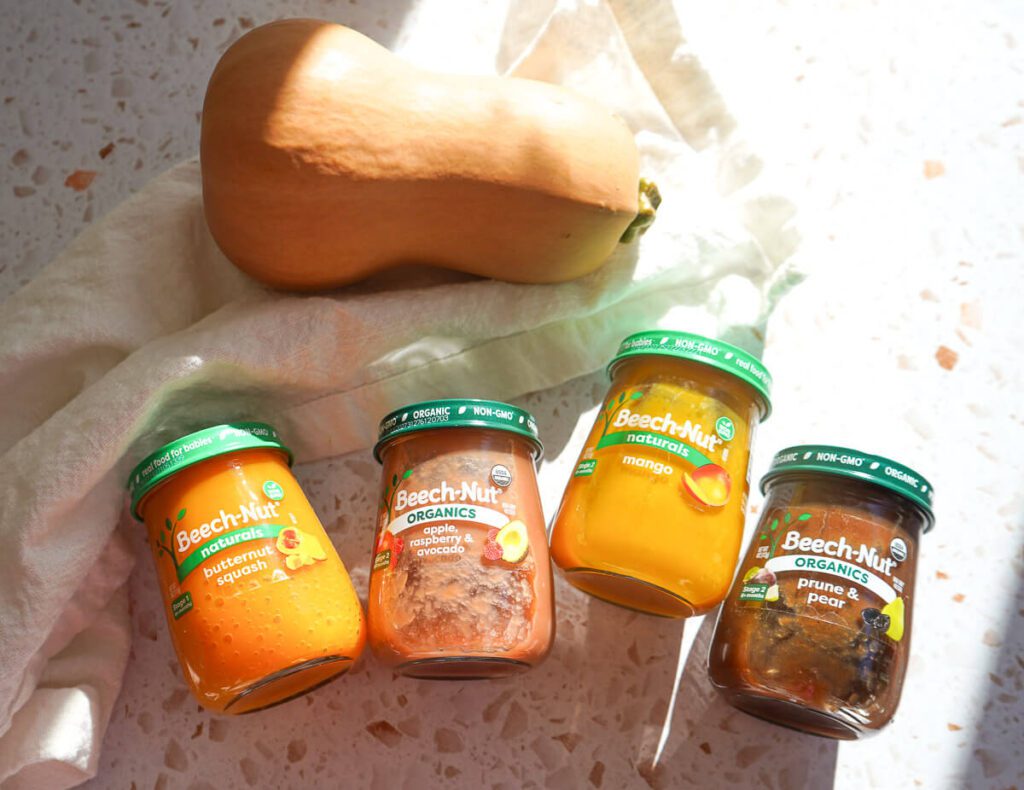
Making Ember’s purees at home was such a rewarding and affordable way to keep wholesome food stocked in our freezer. However, as every new parent knows, life gets busy! Having a stash of quality store-bought jars—like Beech-Nut Naturals & Organics Purees—in our pantry was a total lifesaver.
Store-bought jars require zero refrigeration before opening, making them essential for on-the-go park dates, weekend visits to family, or packing in daycare bags. Embracing both homemade batch-prep and convenient pantry backups is the ultimate stress-free feeding strategy!
Café Style Serving Suggestions
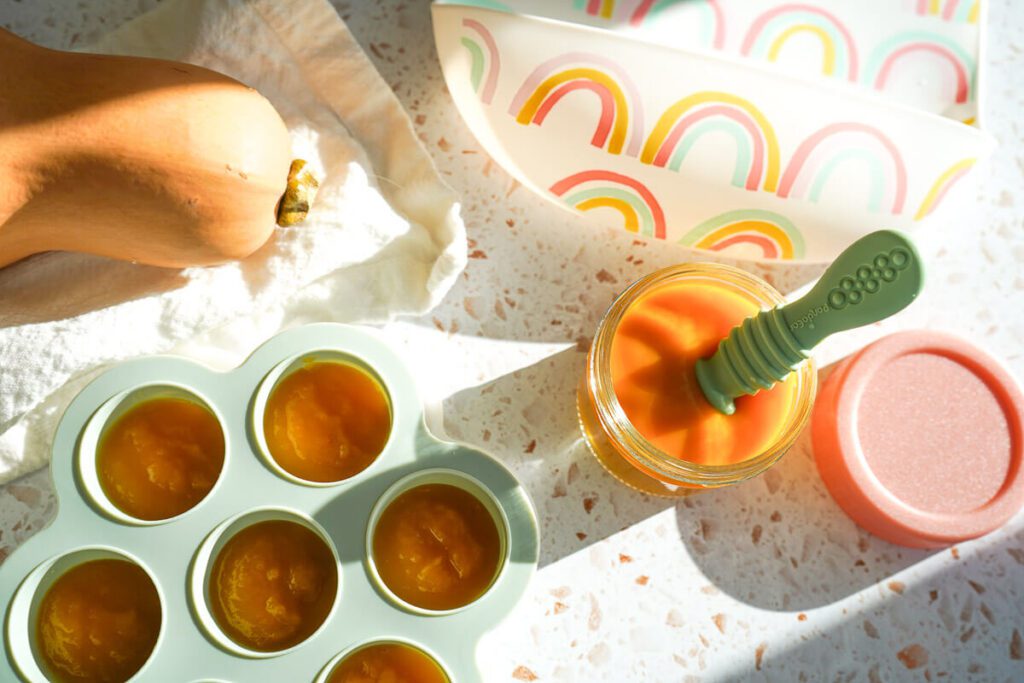
Serve warm or at room temperature in a small glass dish with a soft silicone dipping spoon. Pair with a comfortable silicone catch-all bib for mess-free exploration!
As baby grows into toddlerhood and develops their chewing skills, this sweet squash puree transitions seamlessly from Stage 1 feeding into a versatile spread or dip:
Finger Food Pairings: Serve it as a sweet dipping sauce alongside savory, toddler-friendly finger foods like our Soft-Baked Blueberry Banana Oat Fingers or baked egg squares!
Toast & Grain Bowls: Spread a thick layer over whole-wheat toast strips or stir a spoon into warm morning oats.
Full Printable Recipe:
Print for the full recipe and instructions below, or pin this to your Pinterest board for your next meal prep!
Easy Roasted Butternut Squash Baby Puree

Equipment
- 1 large rimmed baking sheet
- 1 immersion blender or high speed blender
- covered silicone baby food molds
Ingredients
- 1 1 medium whole butternut squash washed and dried
Instructions
- Preheat oven to 400°F (200°C) and line a baking sheet with parchment paper.
- Slice butternut squash in half lengthwise and scoop out the seeds and pulp.
- Place squash halves cut-side down on the prepared baking sheet.
- Roast for 40 to 50 minutes until skin is soft and flesh is fork-tender.
- Allow squash to cool slightly, then scoop roasted flesh into a bowl or blender pitcher.
- Puree using an immersion blender until completely smooth and creamy.
- Divide puree evenly into covered silicone baby food freezer molds and freeze until solid.
Notes
- Texture Adjustment: Blend in 1–2 tablespoons of warm water, breastmilk, or formula if you prefer a thinner Stage 1 puree.
- Store-Bought Tip: Keep store-bought purees (like Beech-Nut) stocked in the pantry for quick daycare bags and travel days when frozen cubes aren’t practical.
FAQ
Did you make this recipe?
We’d love to see your creation! Tag @healthyhoneydew on Instagram!